There are tons of “how to make yogurt” articles on the interweb, and one is included in Simply in Season . I have my “own” way of making yogurt, which I adapted from cheesemaking.com and with the advice of friends. It’s really not hard, so here are my instructions (which I hope aren’t more complicated than the actual process!)
What you’ll need:
- half gallon raw (or regular, just NOT ultra-pasteurized) milk
- 1 packet of yogurt culture (or you can use 1/4 cup of leftover plain yogurt that you bought at the store–just be sure it says “active cultures” on it.)
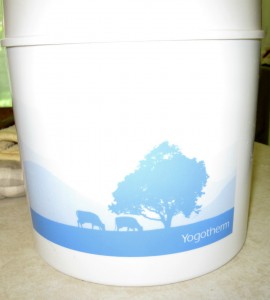
- Yogotherm or 1-2 wide mouthed thermoses that can hold 8 C / 2 L total.
- Stainless steel pot with a thick bottom
- Thermometer
The Process:
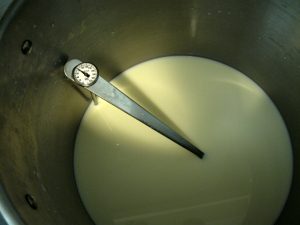
1. Heat the milk in your pot until tiny bubbles form around the edges of the milk. It says do not boil. I have before with no ill effects. I have seen varying temperatures recommended for this step, but I usually heat to 180F or whenever it almost boils. As you can see from the photo below, I stick the thermometer in the hole that happens to be at the end of the stainless steel spoon that I use for stirring.
 2. Cool the milk and add the culture.
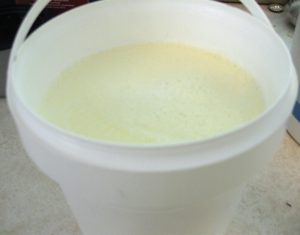
This goes faster if you pour it into the yogotherm or another container and then plunge the container into a sink full of cold water. You’ll want to cool it to 110F. Then, add the culture and stir in.
3. Pour into your thermos or yogotherm and do not disturb.
Here again, you’ll find different opinions as to how long you should let it sit. I’ve seen anywhere from 4-24 hours. I find that the 24 hour mark is most convenient and usually yields a firm yogurt (I work full time, so if I do steps 1-3 in the evening, I can wait until the next evening to finish it.)
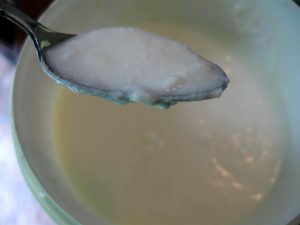
When you open it up, you’ll have yogurt! If it’s a bit on the runny side you can add some dry milk powder. It will also thicken a bit in the refrigerator. Next you can add 1/2 C sugar or honey or fruit. Or not. I usually don’t add sweetener, because I mostly use it in recipes or smoothies, in which case it gets sweetened when I blend in the berries. Also because I am mostly using it in smoothies I don’t worry *too* much about texture. If you are going to be eating it on its own you may want to experiment with blending it to get the texture you want. The photo at the beginning of this post shows what happens if you DO let it boil (in my case I wasn’t watching it closely enough). It’s not nearly as set up as it normally is, but it’s still usable for recipes.
Random Yogurt Tips
- Drain it in cheesecloth for a little while, and you have “Greek Yogurt!”
- Drain it for a long while, and you’ll get Yogurt Cheese. This can be a substitute for cream cheese in many recipes.
- If you do buy yogurt to start with, or would like to save some of your current batch to use as a starter next time, you can freeze it in ice cube tray. When you thaw it, it may take a bit longer to gel.
- Substitute yogurt for sour cream in baking.
This post linked to Tempt My Tummy Tuesday


We have incorporated yogurt making as part of our lives and make several gallons of it each week. Yes, we eat a lot of yogurt – specifically yogurt cultured from Activia and it does work as advertised.
Try our website: http://mryogurt.info/
Interesting. I have never made yogurt before.
I really need to start doing this, we eat a lot of yogurt
Great tutorial! I admire those of you who can whip up things like homemade yogurt!
Thanks for the recipe, looking for one to use my current yougurt. Concise explanations with photos, perfect – not too much, not too little, just right.