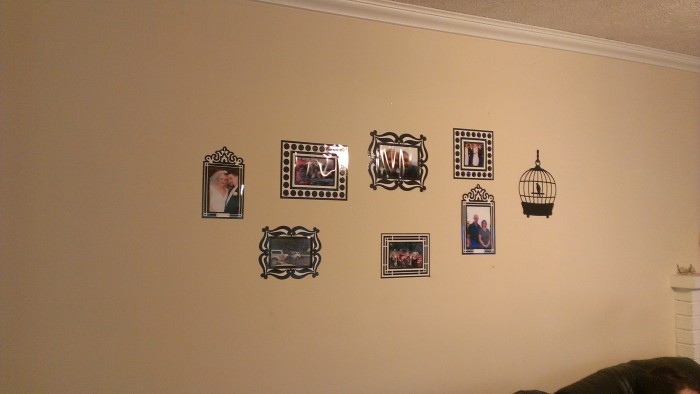
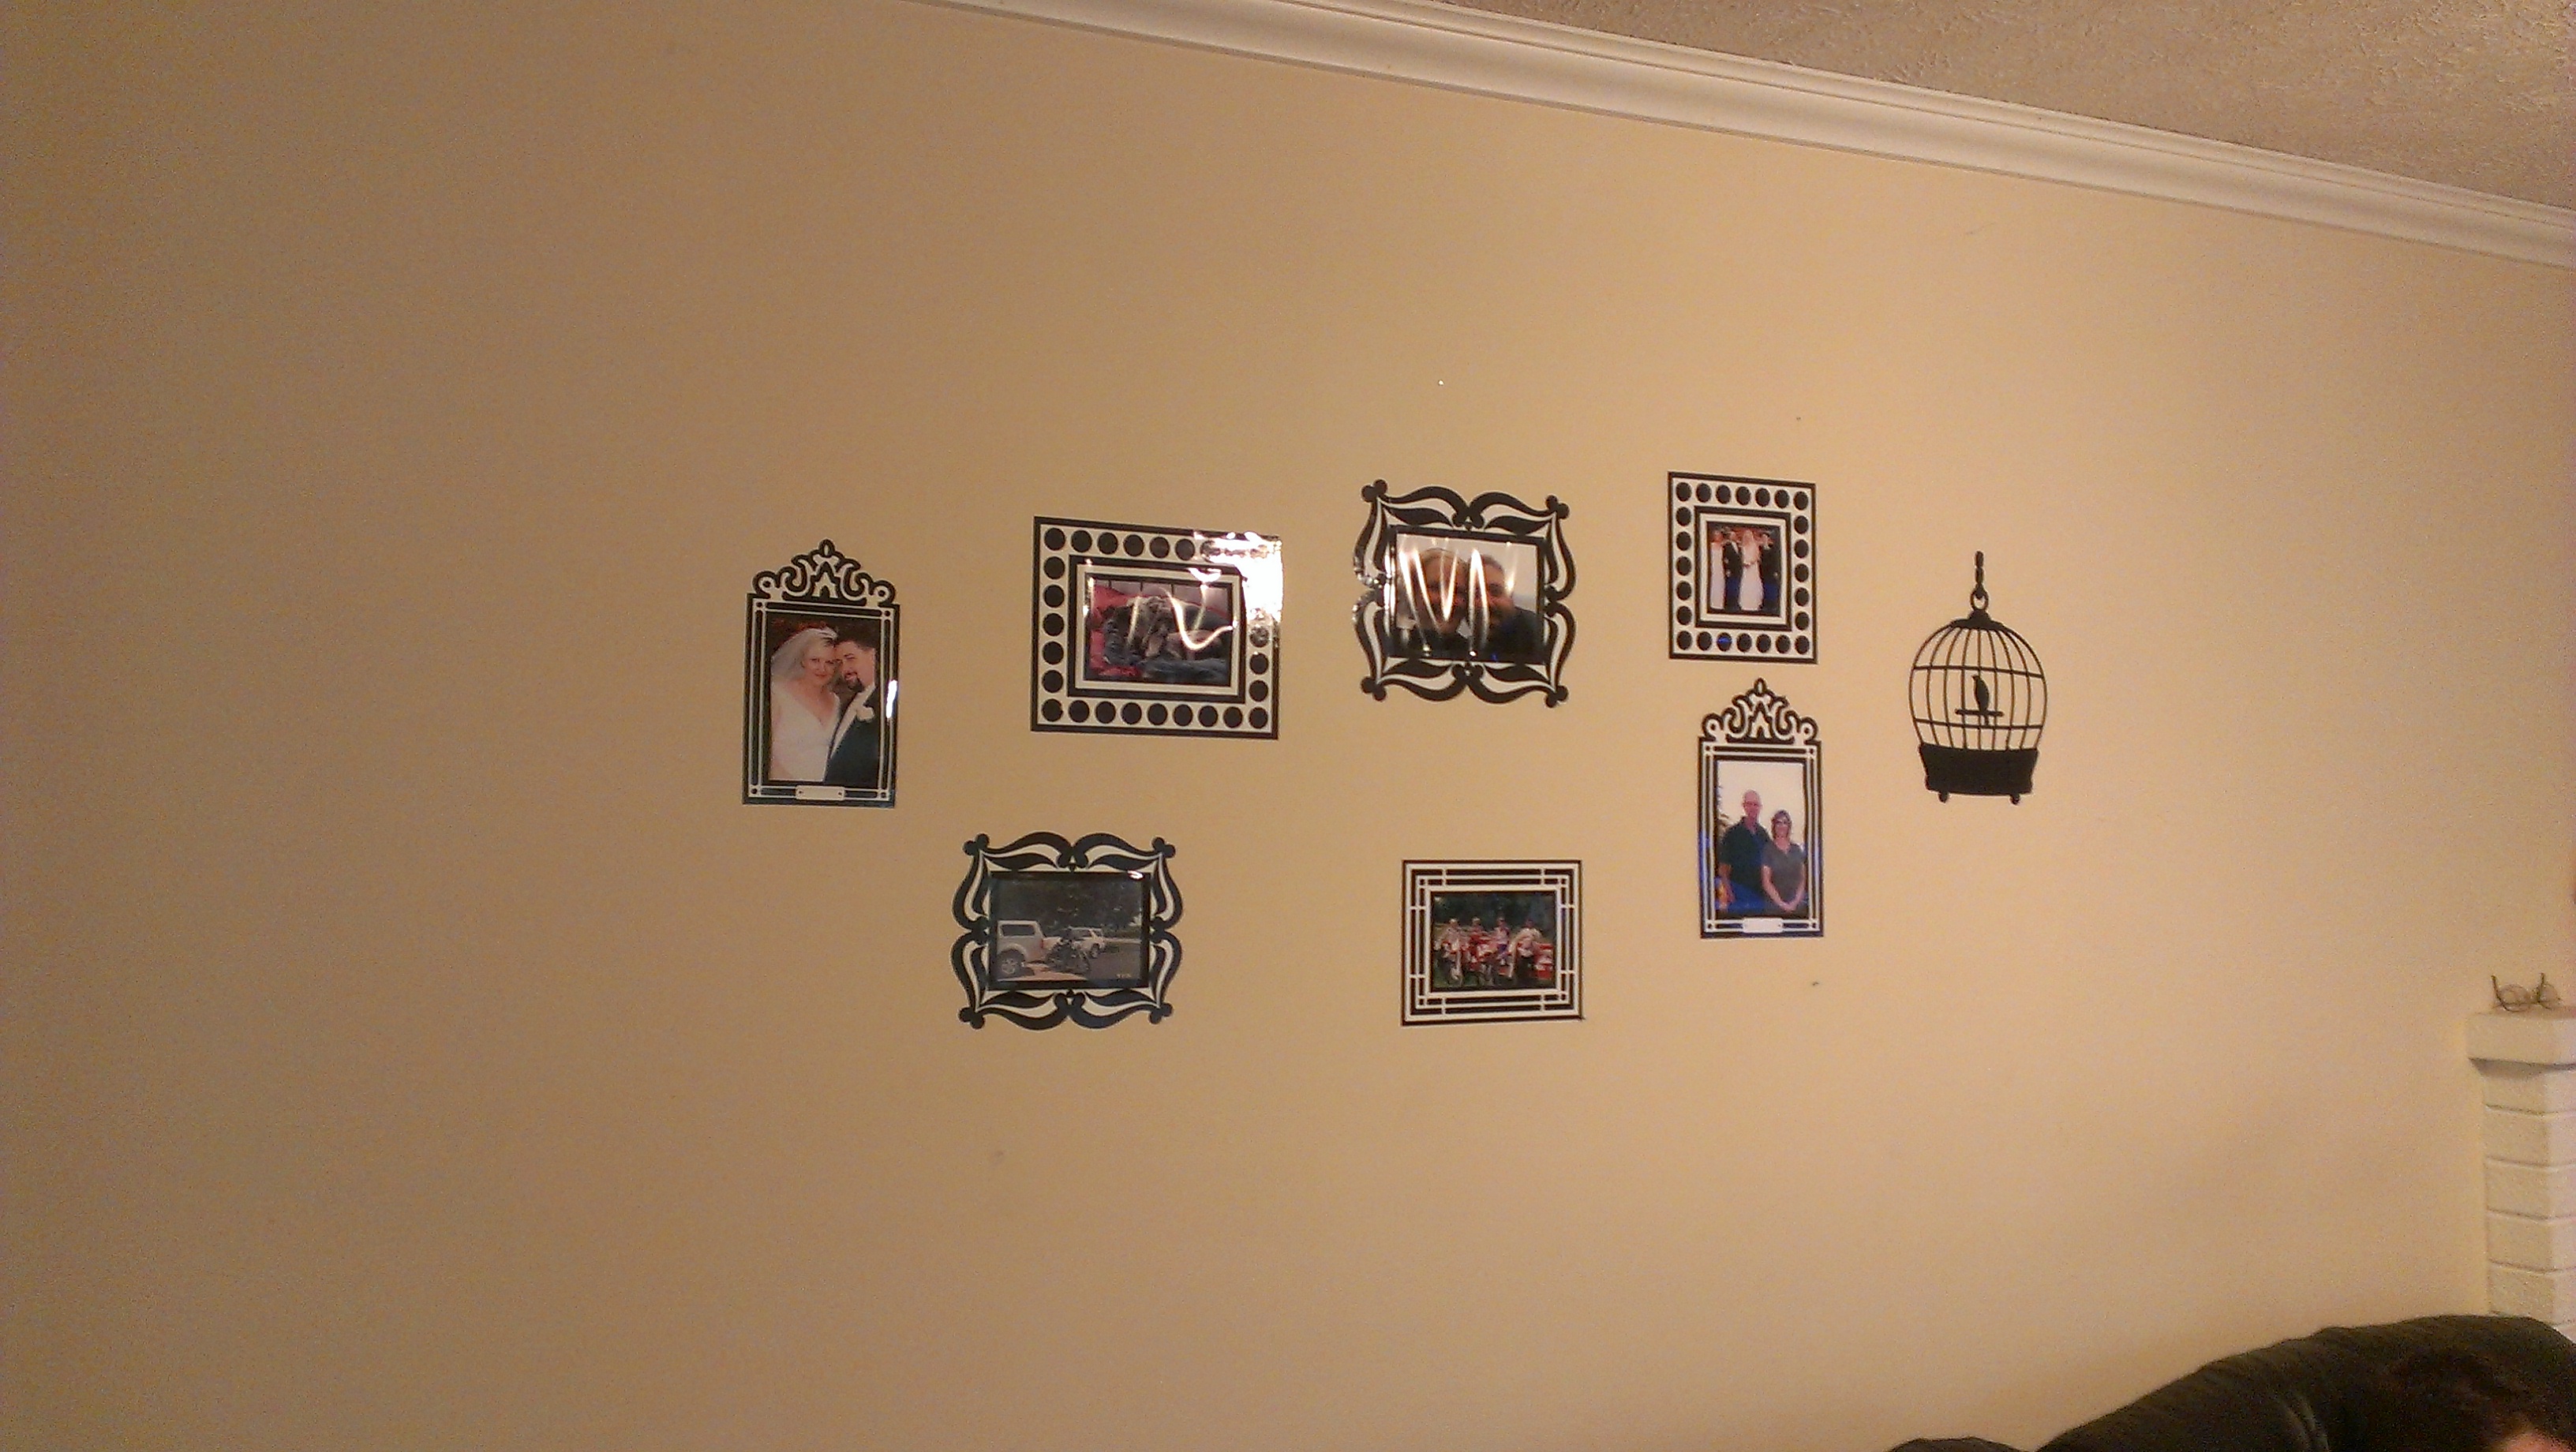
Earlier this year I made a photo wall using Butch and Harold Sticker Picture Frames. (You might remember that I made a DIY message board with one of the leftover frames). Well, I had a photo that I wanted to add to the wall, but I knew I could figure out a way to make my own sticker picture frame.
I searched the Silhouette Online Store to find a frame that seemed fairly simple and thick (I didn’t want to spend hours weeding the vinyl).
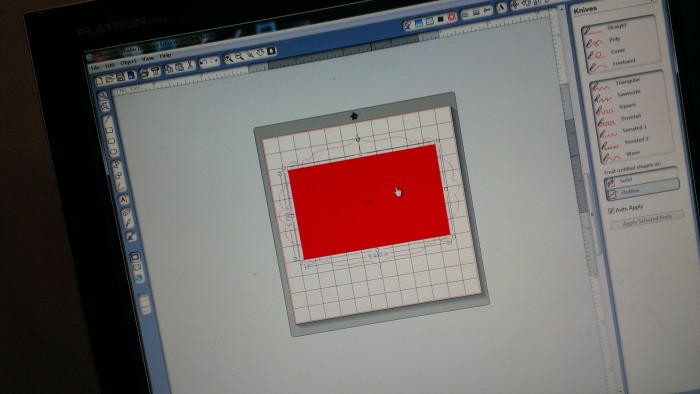
Once I purchased the file, I resized the frame to around 12″ wide (the width of the vinyl that I was using). I used a colored box to see how big a photo I would need to print in order to fill the frame opening. I made note of the dimensions.
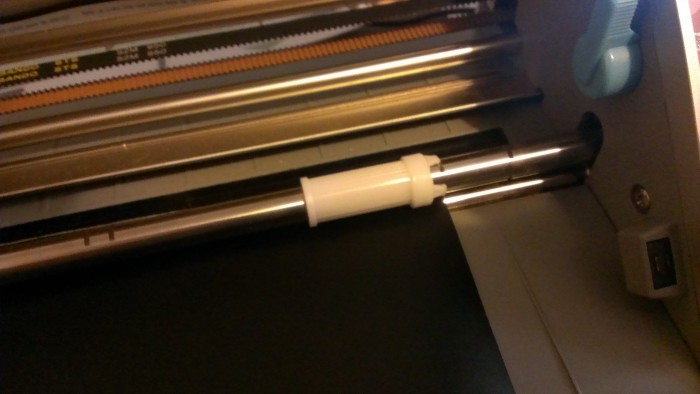
Then I changed the roller to the vinyl size since I would be cutting the vinyl without a mat. By the way, I used Oracal 631/indoor vinyl so that I could remove the sticker someday without damaging the wall.
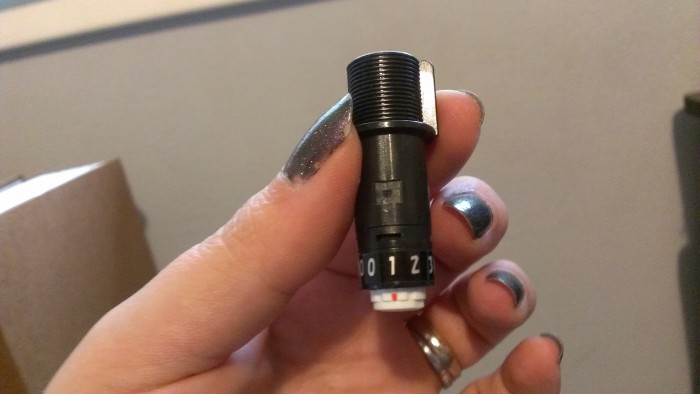
Make sure you choose “load media” instead of “load cutting mat.” I usually keep the default settings for vinyl but I set the blade to 1.
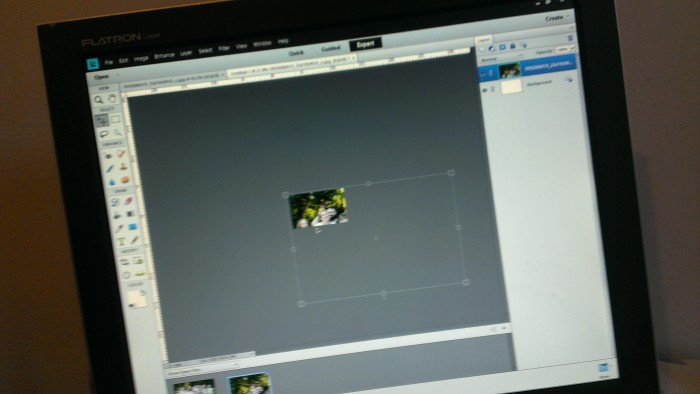
While the Silhouette Cameo Electronic Cutting Tool cuts the frame, I open my photo in Photoshop.
I make a blank file using the dimensions that I recorded earlier, and resize the photo to fit.
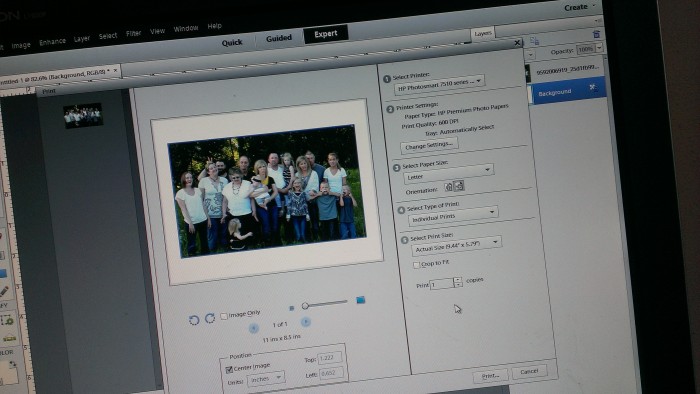
When I send the photo to my printer, I make sure to choose photo paper settings and ACTUAL SIZE. Sometimes I forget to check that setting and it ends up printing the full photo paper size instead of the size I want.
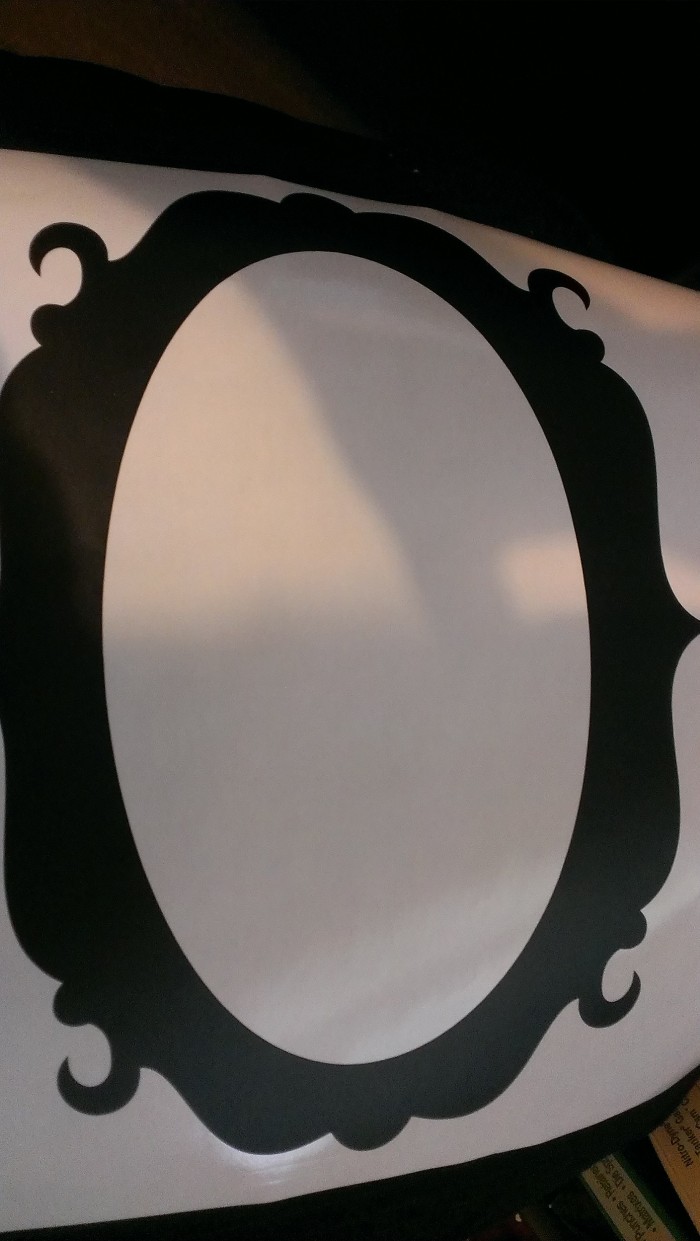
By now the picture frame is cut, so I remove the unwanted areas.
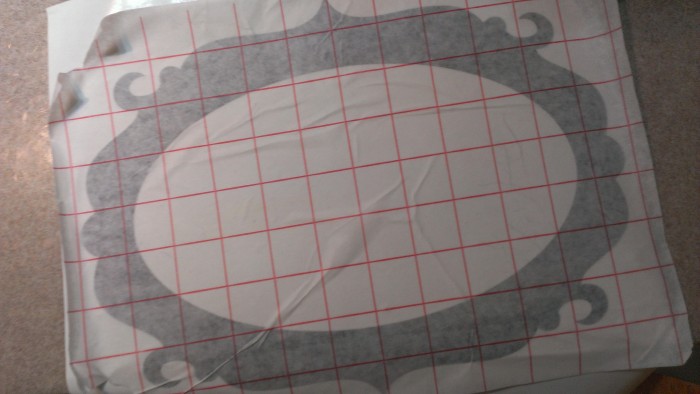
I then use transfer paper and peel off the backing, leaving the sticker’s sticky side exposed.
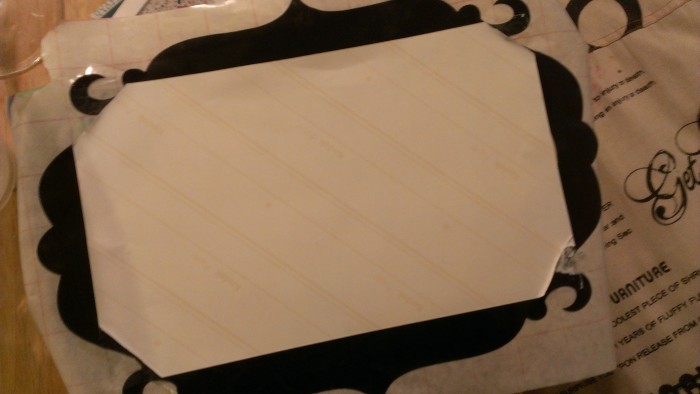
Next I lay the photo on the photo frame and trim the edges.
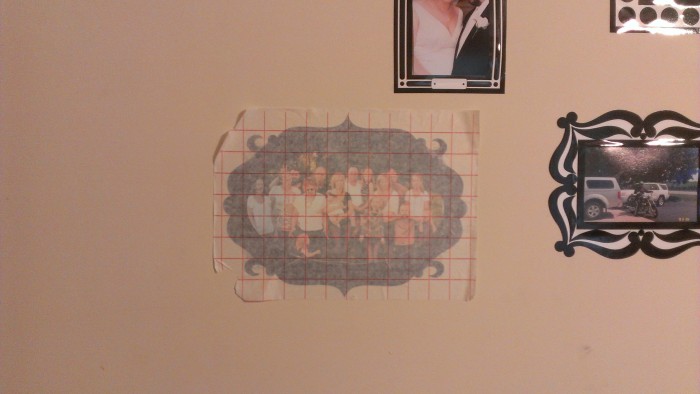
Then, using the transfer tape, I place the photo and sticker on the wall, press well all over to make sure it sticks, and remove the transfer paper.
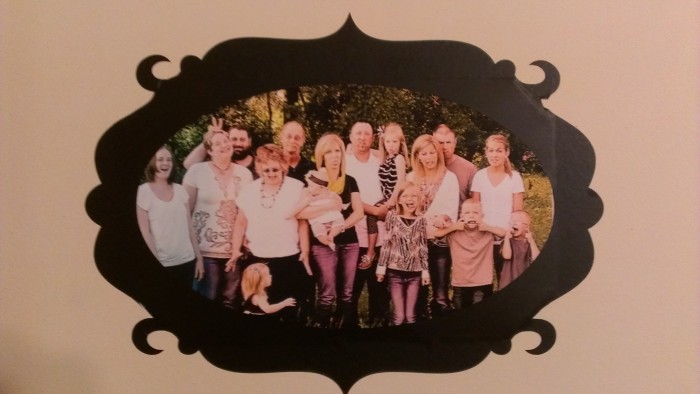
Voila! See, I knew I could make this myself!


That is very cleaver…My mind is now buzzing with ideas. Thanks.
Stopping by from Ultimate Blog Challenge
There are people you have to admire. I am very impressed with what you created. The final product made me amazed. Awesome and thank you for sharing.
This is awesome! You made it look super easy with clear instructions!
Peggy