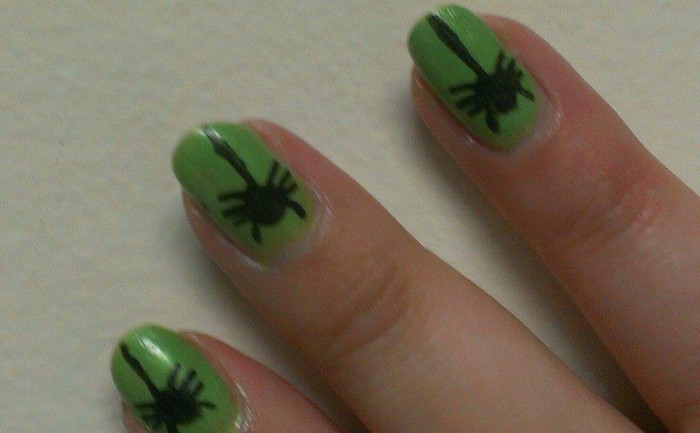
My latest obsession? Nail art. I don’t think I’ve posted about this before, but ever since I discovered Julep monthly nail polish subscription box, I have loved changing my nail art each week.
I tend to go in phases. I haven’t worn nail polish in a very long time. Before my latest phase, I hadn’t bought nail polish in a few YEARS. But when I noticed the nail art craze, I realized that it was a way to express myself creatively (which is helping to suppress my desire for more tattoos, ha ha.)
The Silhouette Cameo makes it very easy to achieve designs that look like you spent hours, are very talented, or spent a lot of money at a salon. Unfortunately I do not have a lot of hours, money, or all that much talent. Fortunately, I did find some really fun nail art designs in the Silhouette Store. The photo above made use of a spider stencil that I found. Now, if you are talented, you could probably free hand it. I am not.
Here are the steps that I took to make the above look:
1. Cut the spider stencil out of removable (indoor) vinyl. The designs in the Silhouette store have a lot of different sizes, so you’ll want to matchup the sizes that best fit your nails.
2. Apply base coat (I love the one from Julep, but you can use clear nail polish too. It helps keep your nails from taking on pigment from darker polish colors).
3. Apply base color. I used MacKenzie, an apple green.
4. Either wait for the base color to dry on its own (you may want to let it cure overnight), or use the Julep Freedom Polymer Top Coat or a similar product that helps speed up drying time.
5. Apply the stencil, paint black on top, and quickly remove the stencil. I used to wait for the polish to dry before removing the stencil, but I read on a blog somewhere to try it while it’s wet and lo and behold, it does work better to remove the stencil while the polish is still wet.
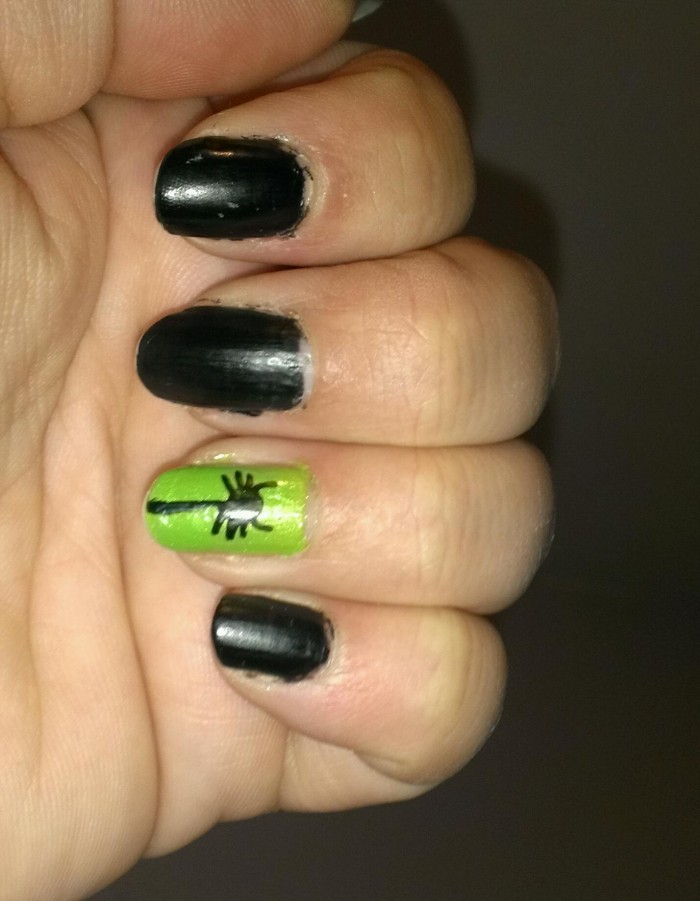
6. If desired, add a clear top coat to seal the spider design. I did not, since the Cleopatra dries to a fun latex-ish finish, but after about a week the spiders started to rub off.
You would NOT believe how many compliments I got on these nails! From the cashier at my favorite coffee shop, to friends, to flight attendants. All loved the Halloween look, even though I did not get everything perfectly. It’s easy to spot the flaws if you are looking at your nails close up, but remember that most people are not going to be staring at them that long.
Since I have some professional meetings this week I decided to class up the design a little and used the Cleopatra on all but my ring fingers.

DH suggested that I could have used all black on my fingers and put green spiders on them. That would have been fun too!
I’m also thinking about going in for a professional manicure so I can get my cuticles cleaned up. With all the traveling I’ve been doing they are quite dry and starting to flake. Ick. Any of you have tips for that?
So, what have you been creating lately?


Really clever! they look great!
Love the step-by-step instructions. I’m not creative – but have been intrigued by nail art. I love that you’ve provided a less expensive alternative. Did you find it difficult to apply the stencil using your non-dominant hand?
Not at all! Plus the vinyl is not very sticky so if you mess up you can just reposition it 🙂